This recipe is super easy, and you get a delicious result every time. Learn how to cook green lentils in the Instant Pot without soaking them! You'll find variations of the recipe so that you can taste them in different ways.
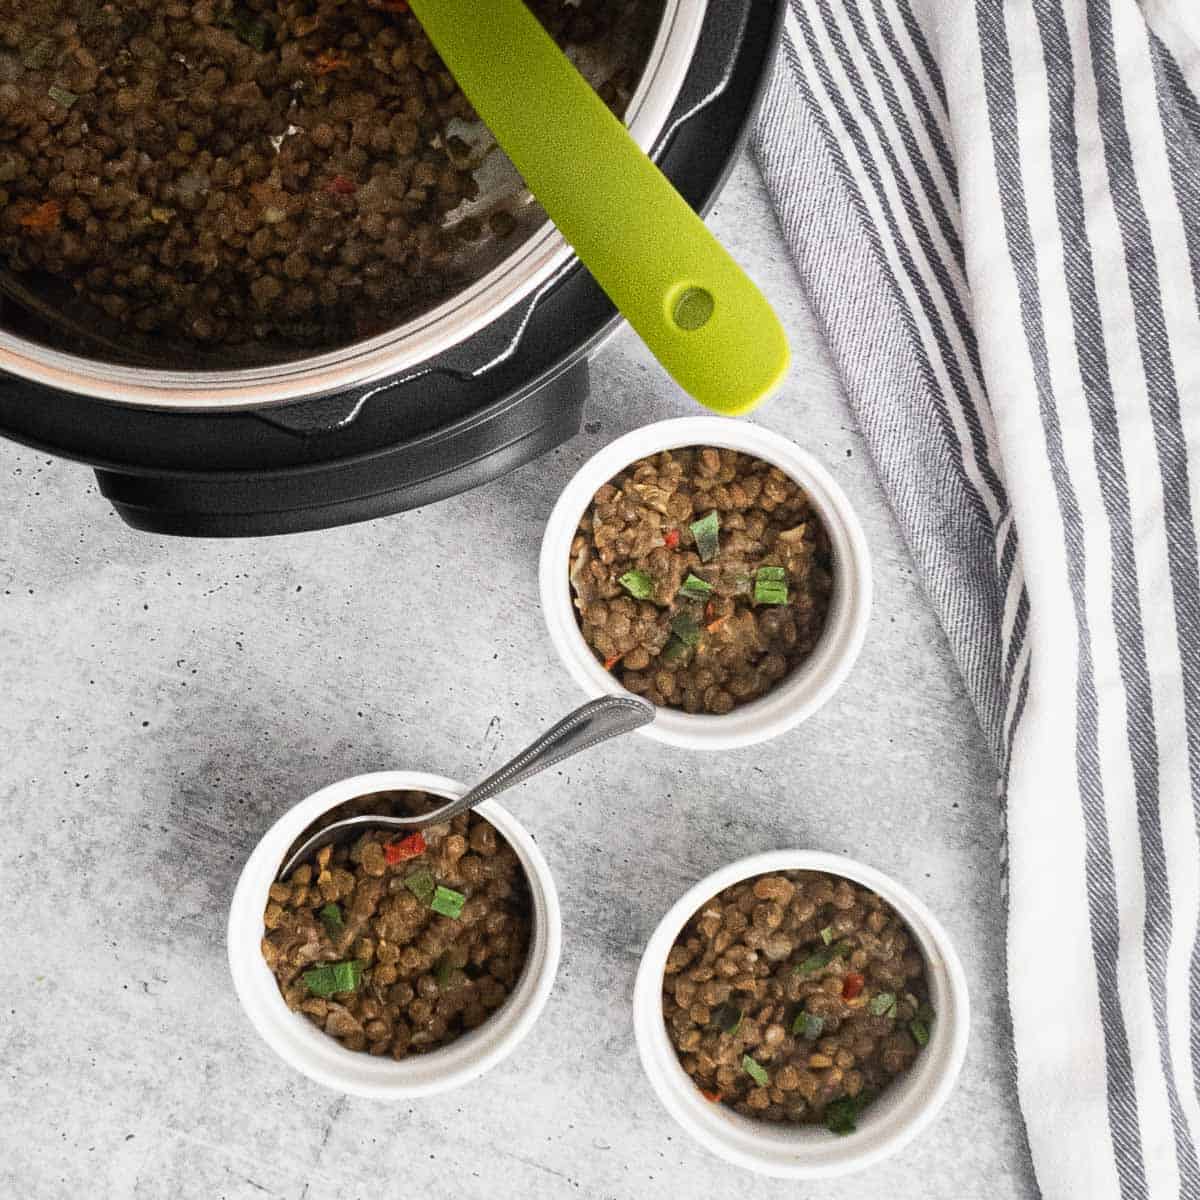
Lentils are a food rich in fiber and iron, and they are inexpensive and delicious.
This recipe works since you don't have to be supervising the stove. You add the stuff to the pot, cover it and let it do its magic on its own. Additionally, the cooking time is shorter compared to the stove.
This a perfect recipe if you are starting to use your instant pot.
Today I'm sharing this super easy and simple recipe for cooking green lentils in the instant pot. For this recipe, you do not need to soak them; a simple wash and cook. I also give you ideas of what to serve them with and how to store them.
Jump to:
📋 Ingredients for the recipe
You will need dried green lentils, onion, sweet peppers, garlic clove, culantro leaves, olive oil, water, and Worcestershire sauce to prepare this recipe. On the recipe card below, you will have the complete measurements for each of these ingredients.
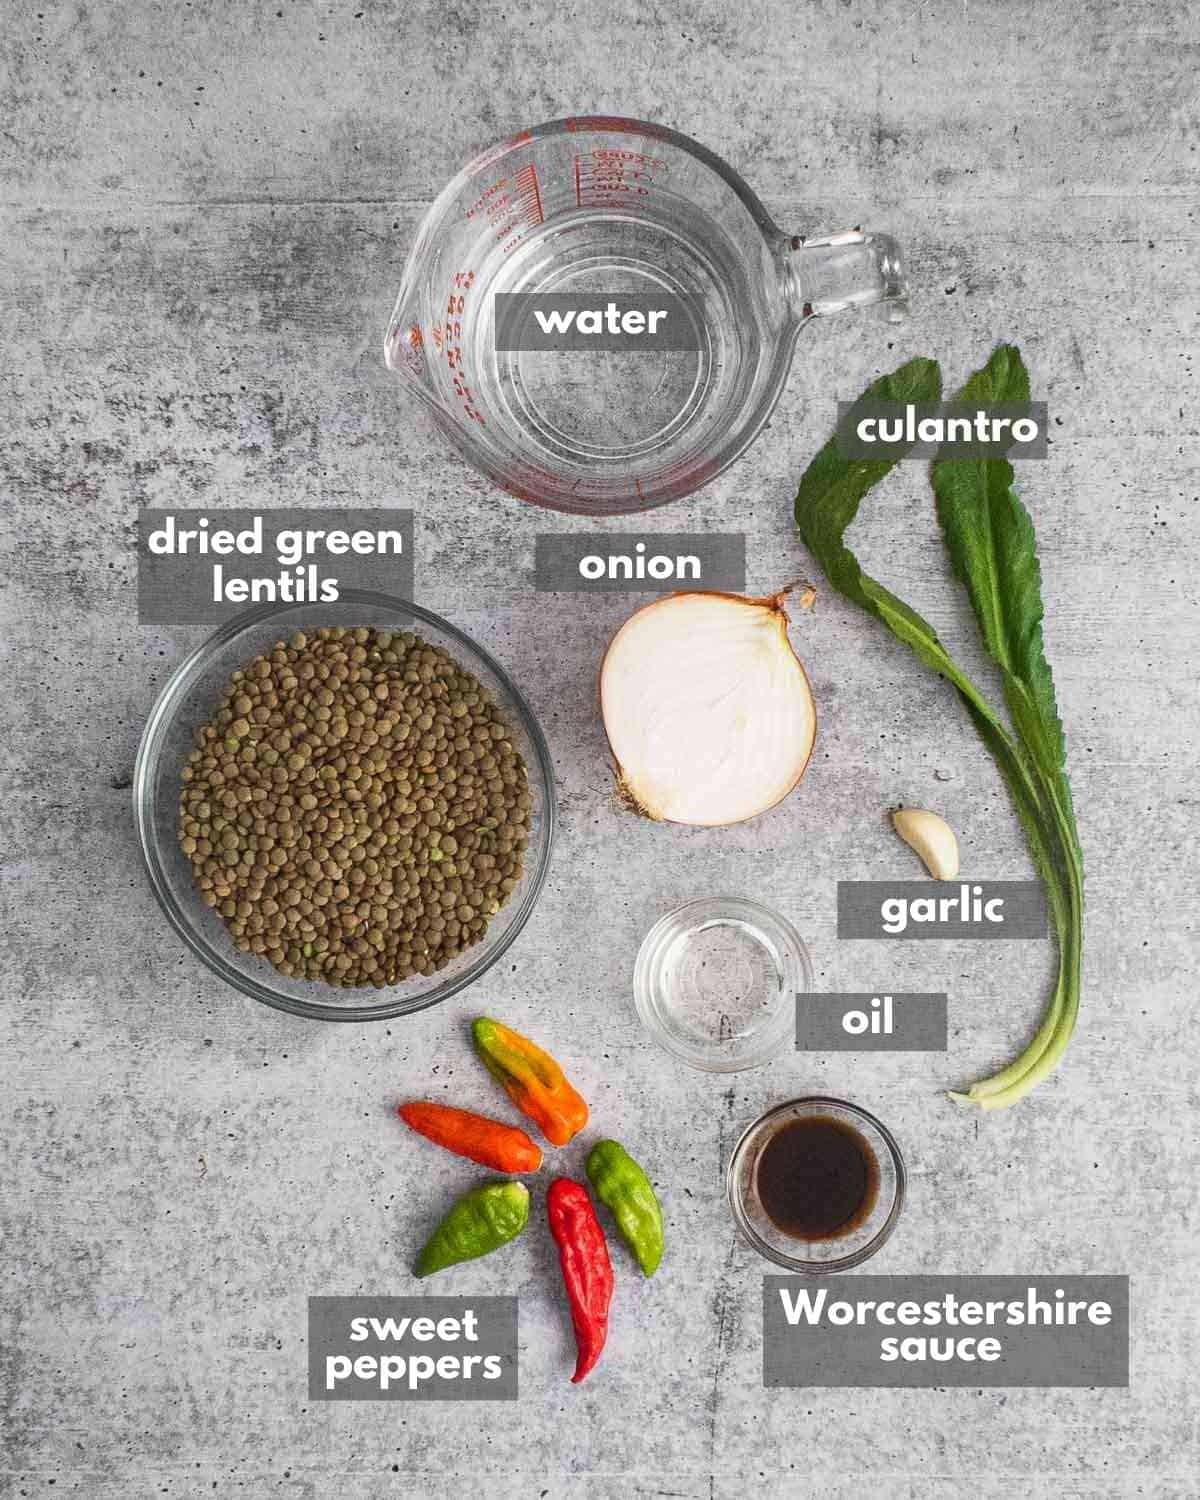
As for utensils, we will use an Instant Pot or electric pressure cooker (6 quarts or 5.7 liters), a spoon, a cutting board, and a knife.
Now that we have all the ingredients and utensils, then let's get started.
📝 How to make the recipe? - Step by Step
The first thing you are going to do is prepare the ingredients for cooking.
Step 1: Check the lentils for stones and remove any grains that are not in good condition. Wash the lentils and set them aside.
Step 2: Prepare the ingredients. Chop the onion, sweet peppers, garlic, cilantro, and reserve.
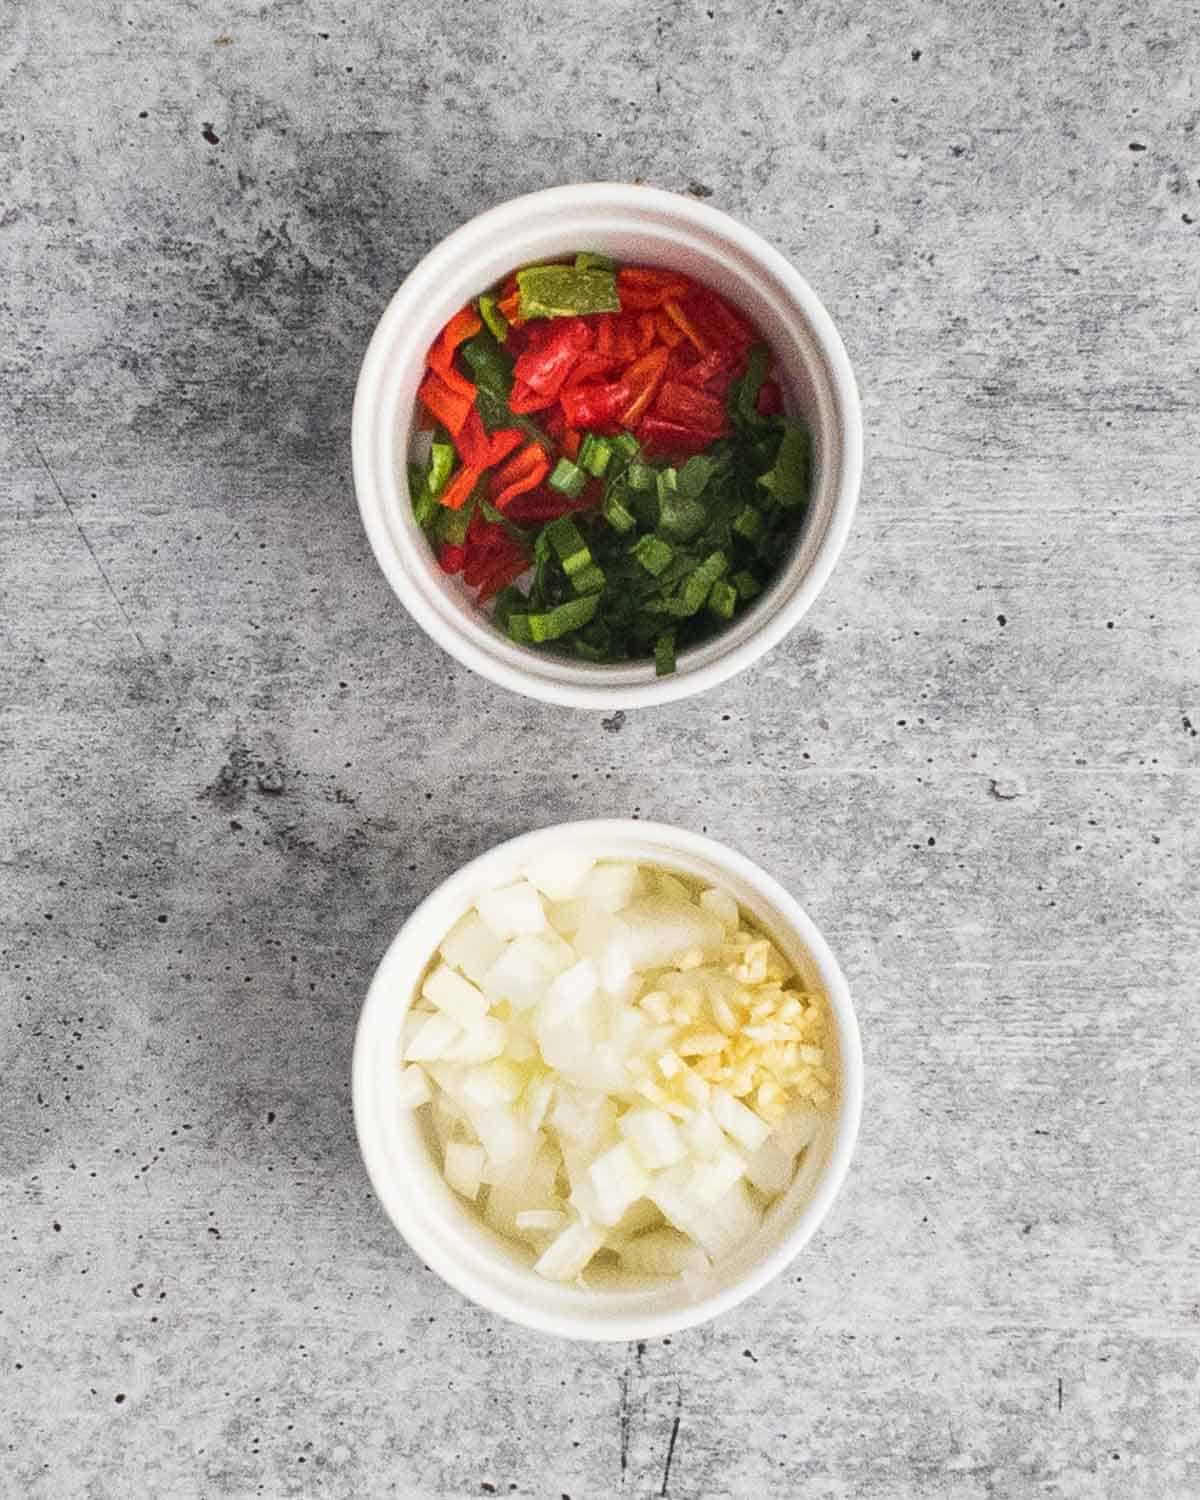
💡 Tip: You can always keep some onion, peppers, cilantro, and minced garlic in the fridge. It works for this and any other stew or stir-fry recipe you need. You can also use a food processor to chop them up.
Now let's proceed with the cooking.
Step 3: Turn on the instant pot, press the "Saute" button and add the oil to heat it.
Step 4: Sauté the onion and garlic for a few minutes until you start to smell that rich aroma. Add the sweet peppers, half the culantro, and continue sautéing for a few minutes.
Step 5: Add the lentils and mix them with the rest of the ingredients.
Step 6: Add the water, cilantro, and Worcestershire sauce and cancel the "Saute" function.
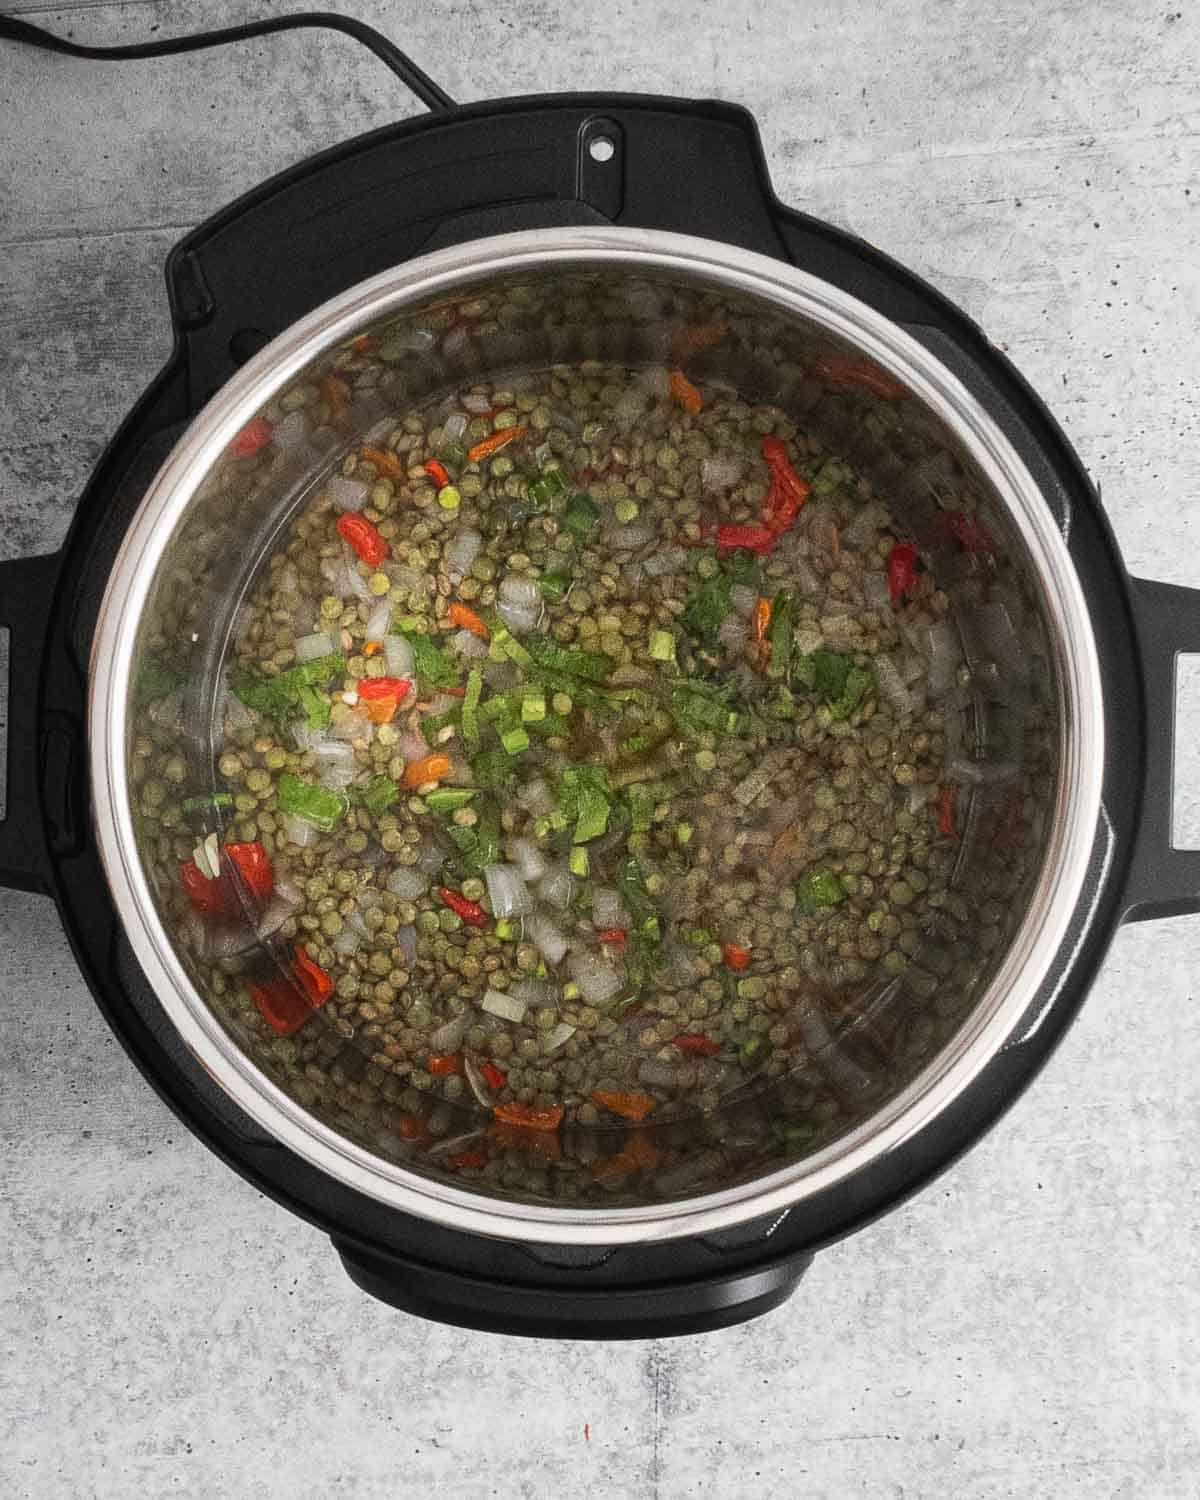
Step 7: Cover the pot and make sure to put the valve in the "Seal" position.
Step 8: Press the "Pressure Cook" button and set the time to 8 minutes. It will take around 4 minutes to come to pressure. Once the time is up, let it release the pressure naturally for 10 minutes. If the pin is not down, remove the remaining pressure, and you can uncover the instant pot.
Step 9: Add salt and pepper to adjust the flavor. The result will be delicious lentils ready to eat. Serve and enjoy!
💡 Tip: If you prefer, you can skip sauteing the ingredients, add everything to the pot and cook for the same time.
Instant Pot Green Lentils
Ingredients
- ½ onion
- 5 sweet peppers
- 1 garlic clove
- 2 culantro leaves
- 1 teaspoon olive oil
- 1 cup dried green lentils, 211 g
- 1½ cups water
- 1 teaspoon Worcestershire sauce
- ½ teaspoon salt
- ¼ teaspoon black pepper
Utensils
- a ladle
Instructions
- Check the lentils for stones and remove any grains that are not in good condition. Wash the lentils and set them aside.
- Prepare the ingredients. Chop the onion, sweet peppers, garlic, cilantro, and reserve.
- Turn on the instant pot, press the "Saute" button and add the oil to heat it.
- Sauté the onion and garlic for a few minutes until you start to smell that rich aroma. Add the sweet peppers and half the cilantro and continue sautéing for a few minutes.
- Add the lentils and mix them with the other ingredients.
- Add the water, cilantro, and Worcestershire sauce. Cancel the "Saute" function.
- Cover the pot and make sure to move the valve to the "Sealing" position.
- Press the "Pressure Cook" button and set the time to 8 minutes. It will take around 4 minutes to reach pressure. Once the time is up, let it release the pressure naturally for 10 minutes. If the pin is not down, remove the remaining pressure and open the pot.
- Add the salt and pepper to adjust the flavor. The result will be delicious lentils ready to eat. Serve and enjoy.
Notes
- Storage: Once cool, you can store them in the refrigerator in an airtight container for 4 to 5 days.
- Freeze: Once cool, place them in a freezer bag or airtight container. Seal well to avoid freezer burns. You can keep them for up to 3 months. To enjoy, thaw in the refrigerator the night before and follow the instructions for reheating. Preferably freeze in ½ or 1 cup portions, so you don't have to defrost everything together.
- Reheat: You can heat them in a pan or use the microwave. If it's a bit dry, you can add a little extra water, and you're done.
- Sweet peppers: You can use 1 bell pepper. I prefer the colored ones and the 4-pointed ones that tend to be sweet.
- Garlic: You can use garlic powder if you don't have it (½ tsp), so you don't have to sauté add it before covering the pot.
- Olive Oil: You can use any oil you have on hand. Preferably use an oil with a neutral taste.
- Water: You can replace the water with any broth you have (vegetables, chicken, meat, etc.). This increases the flavor.
Nutrition
Variations of the recipe
- You can turn it into a lentil soup, add the ingredients like butternut squash and chorizo, plus add half a cup of water and let it cook for the same time. Make sure to cut the squash into small cubes, so they cook through.
- You can add tomato sauce (half a cup) when you are sautéing vegetables. Then continue with the process (step 3).
- You can add spinach. You should add them once the lentils are cooked so they wilt down with the heat. This helps increase the iron content.
- You can make curry by adding tomato sauce, curry, spinach, and chopped carrot.
- Add other spices to change the flavor profile. Like a bay leaf, chili powder, cumin, and paprika are good options. Check out this DIY chili seasoning to add.
Storage tips
- Storage: Once cool, you can store them in the refrigerator in an airtight container for 4 to 5 days.
- Freeze: Once cool, place them in a freezer bag and seal well to avoid freezer burns. You can keep them for up to 3 months. To enjoy, thaw in the refrigerator the night before and follow the instructions for reheating. Preferably freeze in ½ or 1 cup portions, so you don't have to defrost everything all at once.
- Reheat: You can reheat them in a pan or use the microwave. If they are a bit dry, you can add a little extra water.
🍽 Serving Suggestions
Depending on how you would like to eat it, there are different ways to serve lentils:
- For breakfast, you can add them to your scrambled eggs.
- You can add a little pico de gallo, avocado, cheddar cheese, and chicken served in a tortilla.
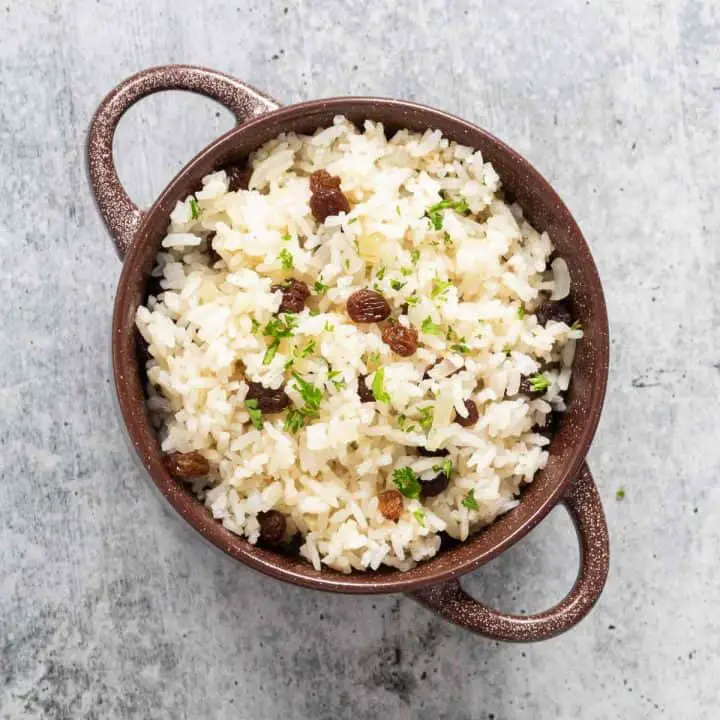
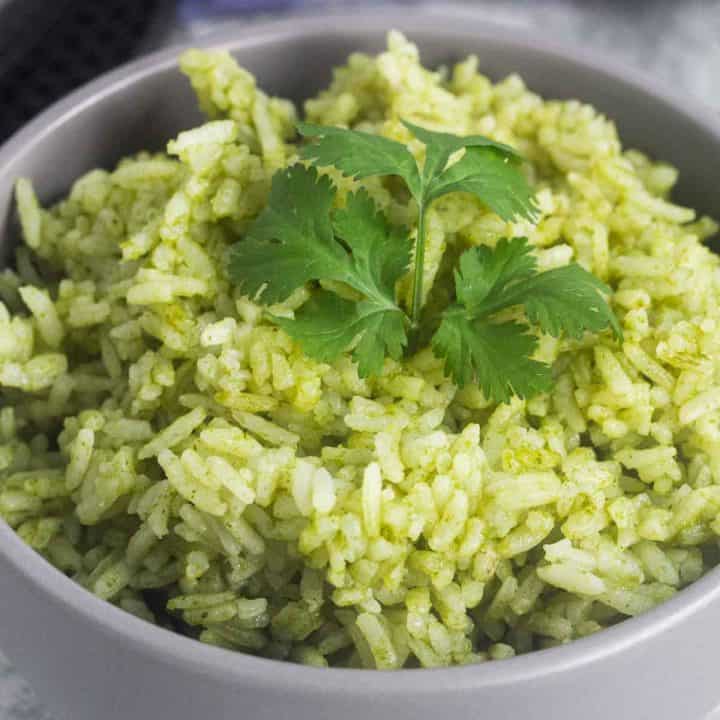
- Another traditional way to serve green lentils is with white rice, fried plantains, a salad, and meat choice. You can also serve them with cauliflower rice, caramelized plantains, and stewed tongue.
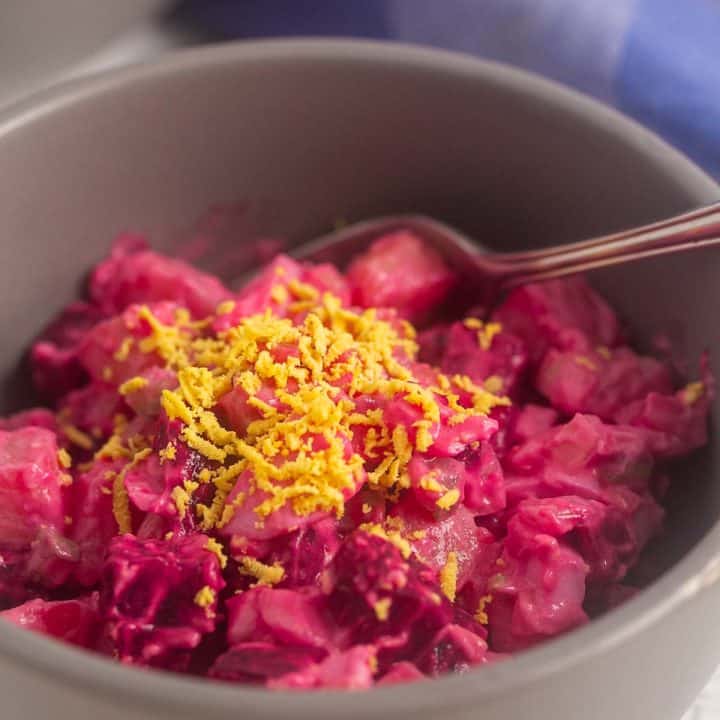
- You can add it to salads, mix lettuce, beets, feta cheese, and it’s delicious.
- Or you can eat it alone if you prefer or add a little bit of feta cheese and olive oil.
Substitutions
- Sweet peppers: You can use bell peppers. I prefer the colored ones and the 4-pointed ones that tend to be sweet. Replace for 1 small bell pepper.
- Garlic: You can use garlic powder (½ teaspoon) to don't have to sauté add it before covering the pot.
- Olive oil: You can use any oil you have on hand. Preferably use an oil with a neutral taste.
- Water: You can replace the water with any broth you have (vegetables, chicken, meat, etc.). This increases the flavor. You could even use bouillon cubes.
❓FAQs
Check that they are not hard; they must be tender. If they are still hard after cooking, you can cover the pot and add one to two more cooking minutes.
I prefer to add the salt once the lentils are soft. I have found that sometimes adding salt to it during cooking tends to increase the cooking time.
If you tried the instant pot green lentils recipe or any other recipe at Nashi Food, don't forget to rate the recipe and leave me a comment below! I love knowing about your cooking experience.




Leave a Reply